
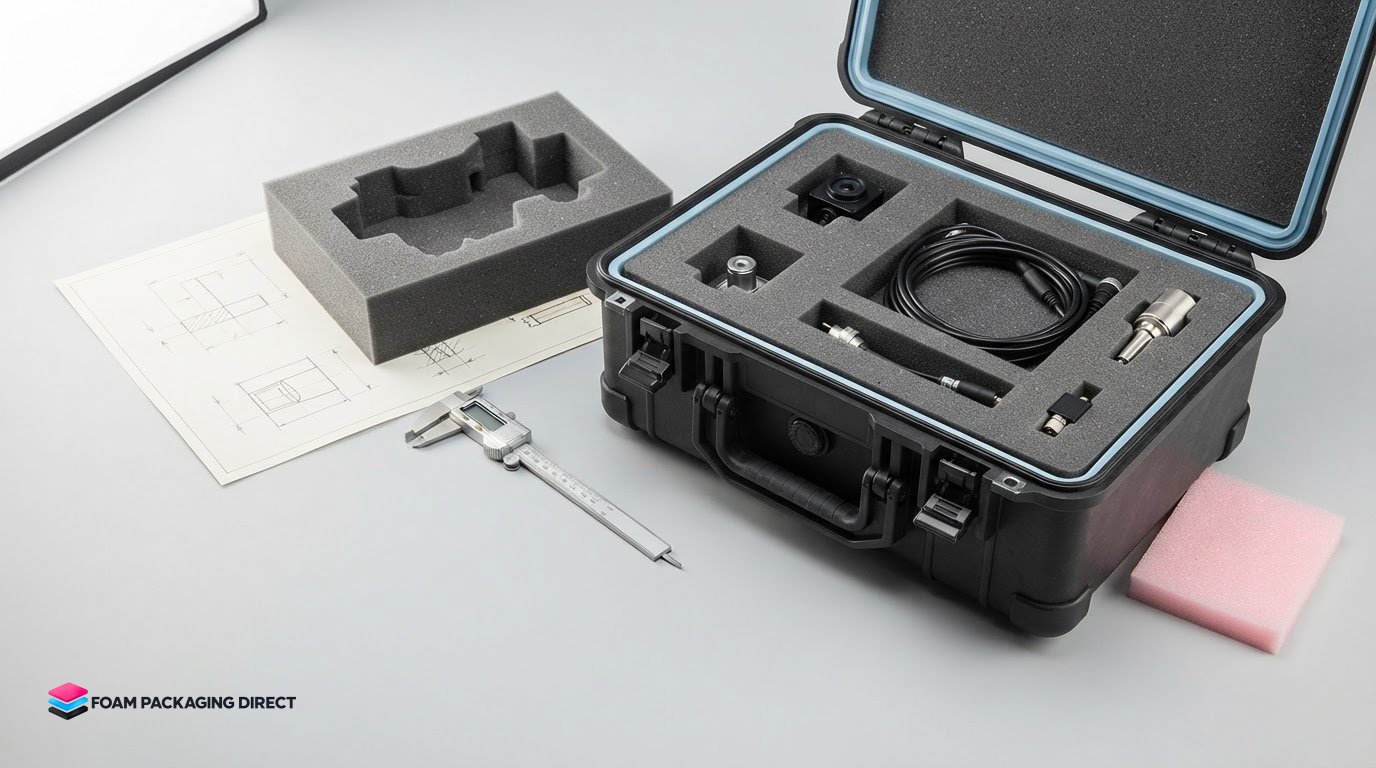
A technical drawing can show the shape, dimensions, and cutouts your foam needs, but it does not determine the best way to produce it. The right choice depends on how much design flexibility, sizing support, material guidance, and production coordination your project requires.
It makes sense to compare more than the cutout price. A straightforward case layout may call for a different approach than unusual product shapes, sensitive surfaces, or replacement foam. This comparison covers pricing factors, design records, measurements, production, and shipping, so you can decide whether an online design tool or a custom foam manufacturer better suits your packaging needs.
Key Takeaways
- Compare design control and replacement needs to decide whether a standard online workflow or custom manufacturing better suits your foam insert.
- Use accurate product and case measurements to plan cutouts, clearance, and fit before production begins.
- Consider how order details and delivery destination affect production and shipping timelines.
- Match the customization process to your product’s protection needs, from a straightforward layout to a more tailored insert.
Design protection and replacement foam
Warranty, return, and revision policies for custom-cut foam depend on the seller’s written terms and the order. Before approving a design, clarify how changes, incorrect dimensions, and replacement pieces are handled.
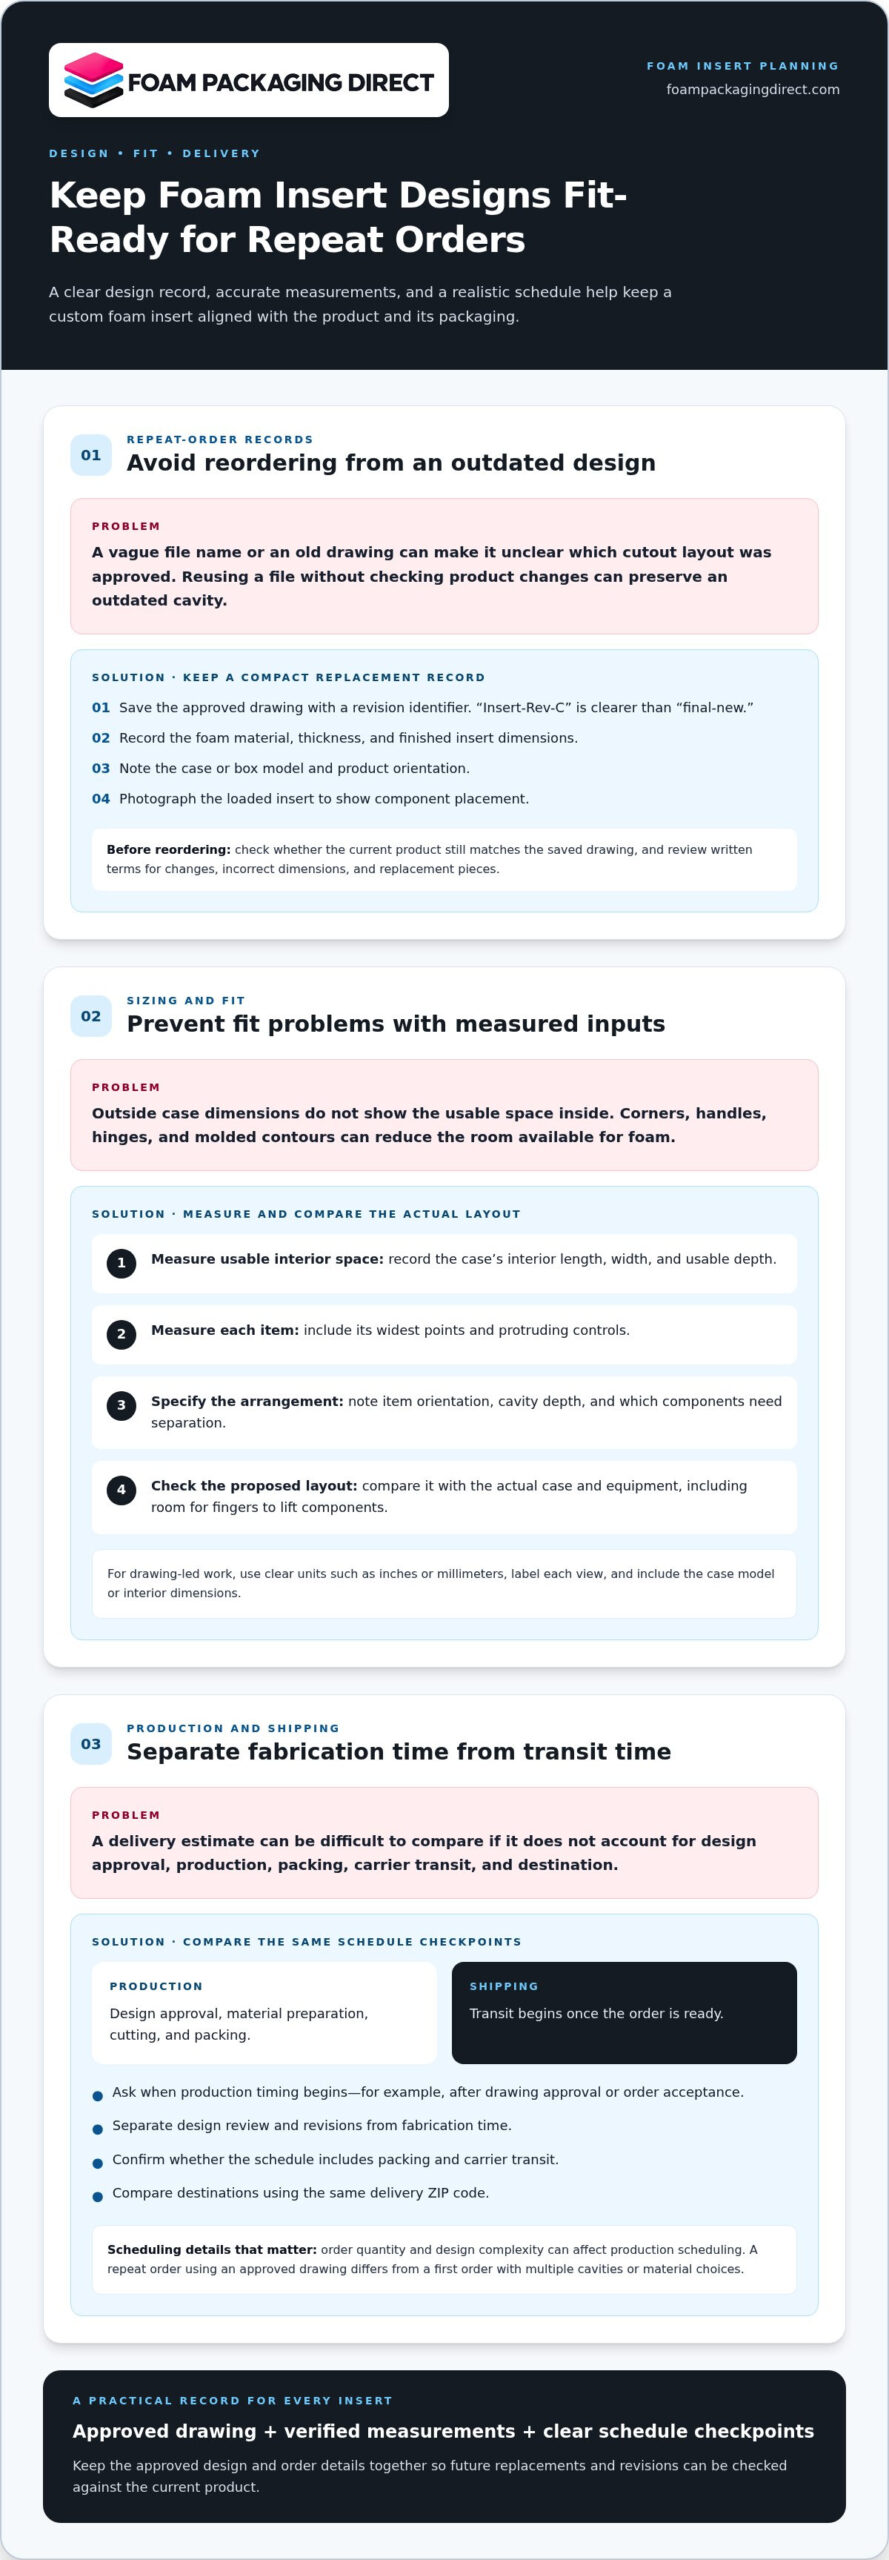
Protect your design by managing its source files. Keep the original drawing or CAD file, assign a revision identifier, and record the approved version with the purchase order. For example, “Insert-Rev-C” is clearer than “final-new,” especially if the product changes later.
Share only the files needed to define the cutout. A drawing may show product outlines, cavity dimensions, foam thickness, and placement. Remove unrelated product details if they are not needed for manufacturing. Ask how design files are handled and whether the order terms cover storage or reuse.
For a repeat order, keep a compact replacement record:
- Save the approved drawing with its revision identifier.
- Record the foam material, thickness, and finished insert dimensions.
- Note the case or box model and product orientation.
- Photograph the loaded insert to show component placement.
These records help distinguish a replacement insert from a redesigned one. If a connector moves or a housing changes, compare the new product with the saved drawing before reordering. Reusing an old file without checking the current product can preserve an outdated cavity.
For delicate or high-value equipment, document which surfaces need clearance and which components must stay separate. A camera body and lens, for example, may need distinct cavities, with accessories arranged for easy packing. Include these requirements in the drawing or order notes.
Use a simple approval sequence: confirm the file revision, review the cutout layout, and keep the approved record. When comparing an online design tool with a custom foam manufacturer, look for clear control over design records and repeat-order details. A traceable drawing and written terms make future revisions easier to manage.
Keep the approved drawing and order details together to make repeat orders and revisions easier to manage. Before approving a design, review the written terms for how changes, incorrect dimensions, and replacement pieces are handled.
Foam sizing and case measurements
Accurate fit starts with the case’s usable interior space and the equipment’s actual dimensions. An online design tool or a custom manufacturer can support a case-specific insert when the layout is based on reliable measurements.
Online Design Tool Design Accuracy and Fit
An online design tool lets you enter measurements and position cutouts. For a specific case model, choose a matching case template when available; otherwise, use measured interior dimensions. Shape each equipment cavity around the item’s form, height, and orientation. A camera body, for example, needs a different outline from a flat accessory. The result depends on the measurements and details entered.
Measure the usable interior, not just the case’s outside dimensions. Corners, handles, hinges, and molded contours can reduce the flat space available for foam, so account for them in the layout. Before approval, compare the displayed cavity positions with the actual equipment arrangement, including room for fingers to lift components.
Custom Manufacturer Design Accuracy and Fit
A custom manufacturer can work from a drawing, equipment dimensions, or the case’s interior measurements. This suits layouts with tailored cavity shapes, varied depths, or organized sets of components. Provide a drawing with clear units, such as inches or millimeters, and label each view. Include the case model or interior dimensions so the foam outline fits the available space.
For an instrument with cables and accessories, mark which parts need separate cavities and how they sit in the case. A manufacturer can use those specifications to create a cutout layout. The distinction is practical: a template-based workflow starts with a defined case shape, while drawing-led work starts with project measurements and requirements.
Use this measurement sequence for either route:
- Measure the case’s interior length, width, and usable depth.
- Measure each item at its widest points, including protruding controls.
- Record item orientation, cavity depth, and required separation.
- Compare the proposed layout against the actual case and equipment.
Both approaches can create inserts for specific cases and equipment when the design includes the case interior and item dimensions. For commercial packaging, custom foam inserts can also be sized around product shapes and packing requirements.
Production and shipping times
Compare production time and transit time separately. Production includes design approval, material preparation, cutting, and packing; shipping begins once the order is ready. A delivery estimate is useful only when it accounts for both stages and the destination.
An online design workflow can move from a completed layout to an order efficiently, especially when the case and cutout details are straightforward. Unanswered questions and design revisions add steps before production can proceed. For example, changing a cavity after approval may require a revised drawing and a new sign-off.
A custom manufacturer may need to review drawings, dimensions, material requirements, and order quantity before scheduling production. That review helps match the foam and cutout plan to the application, so complete specifications matter from the start. A drawing that identifies material, thickness, quantity, and delivery ZIP code provides practical scheduling details.
Use these steps to compare timelines consistently:
- Ask when production timing begins, such as after drawing approval or order acceptance.
- Separate design review and revisions from fabrication time.
- Identify whether the quoted schedule includes packing and carrier transit.
- Compare shipping destinations using the same delivery ZIP code.
Order quantity and design complexity can affect production scheduling. A repeat order using an approved drawing differs from a first order with multiple cavities or material choices. State whether the design is new or previously produced, and include any required delivery date when requesting a quote.
Shipping distance also affects a shipment’s journey. Foam Packaging Direct’s nationwide manufacturing capabilities support regional routing that can reduce freight costs and lead times, although the production location and carrier route vary by order.
For a fair comparison when evaluating different foam procurement options, request a schedule with clear milestones: design approval, production completion, and estimated transit. Assess whether the workflow suits your launch date, replenishment plan, or equipment deployment. A precise schedule starts with a complete drawing, confirmed quantity, and correct shipping destination.
What services and foam customization options does MyCaseBuilder offer?
MyCaseBuilder represents an online design route for creating foam layouts around cases and equipment. Buyers can configure cutouts and review how items sit within the case. A simple layout for a camera, charger, and cables is one example of an organized arrangement to assess.
Customization involves more than drawing an outline. Compare the choices for case dimensions, cavity shape, item orientation, and foam depth. For a handheld instrument with a separate probe, the design needs space for both and a layout that keeps them distinct. The available options determine whether the finished insert suits the packing task.
Before selecting any configuration, define these requirements:
- Case: Identify its model or usable interior dimensions.
- Equipment: List each item, including accessories and protruding parts.
- Layout: Show orientation, separation, and access needs.
- Material: Match cushioning needs to product weight and surface sensitivity.
A custom manufacturer offers another route when a project needs specifications beyond a standard design workflow. A technical drawing can define unusual cavity geometry, multiple product versions, or packaging for an existing box. For example, a distributor shipping a device with separate accessories can specify each part’s position and protection needs.
Material choice also matters. Polyethylene foam and polyurethane foam have different characteristics, so a cutout design alone cannot determine the right material. Consider product weight, fragility, shipping conditions, and surface finish. Anti-static foam may suit applications where static control is needed, but it does not replace other ESD protections.
Match the workflow to the job: an established case layout may suit online configuration, while a drawing-led design or broader packaging requirement may benefit from manufacturer input. Before approving a cutout, compare design controls, material choices, and production steps with your product and packing process.
Material options include polyethylene, polyurethane, and anti-static foam. Specify foam depth or thickness in the design; select the material based on product weight, fragility, shipping conditions, surface finish, and the need for static control.
Foam Packaging Direct: Custom Foam Inserts
Foam Packaging Direct helps when a product, box, or packing process needs a tailored foam layout rather than a standard case configuration. Custom foam inserts hold products and components in place, while foam sheets and pads add separation or cushioning within existing packaging.
For repeatable packing, tote and tray inserts organize parts between workstations or during handling. Foam rolls and wrap provide flexible cushioning around individual items. Choose a format based on product weight, fragility, dimensions, surface sensitivity, shipping conditions, and order quantity.
To request a quote, provide your product dimensions, weight, quantity, shipping ZIP code, and any available drawings or photos. Include existing box dimensions and special protection requirements if they apply. Contact Foam Packaging Direct to discuss the packaging that fits your application.
Choose the next step for your packaging
Before choosing a design route, decide who on your team will manage approvals and maintain the approved specification. A clear internal owner helps purchasing, engineering, and packing teams stay aligned as the project progresses.
The mycasebuilder-versus-custom-foam-manufacturer decision should suit your team’s workflow as well as the foam design. Consider how your team will manage design revisions, approvals, and future changes to the packaged product.
When you’re ready to discuss a packaging project, share the requirements that matter most to your operation. Foam Packaging Direct can help design and prototype a foam solution for your application.
Contact Foam Packaging Direct for help. A clear decision now can make your next packaging step more straightforward.
Frequently Asked Questions
Can you design my foam for me?
Yes. Foam Packaging Direct provides custom foam design and prototyping for inserts shaped around your product and container. Share product dimensions, weight, box or carton size, and any drawings or photos. If you don’t have drawings, you can send the product for measurement. A prototype is prepared for your approval before full production, so you can review the design first.
What are typical prices for custom-cut foam inserts from US manufacturers?
There is no single typical price for custom-cut foam inserts because design and order details affect the quote. Cost factors include foam material, insert size, cutting method, and order quantity. Foam Packaging Direct provides exact pricing only after issuing a quote. To request one, provide product dimensions, weight, box size, quantity, and any available drawings or photos.