
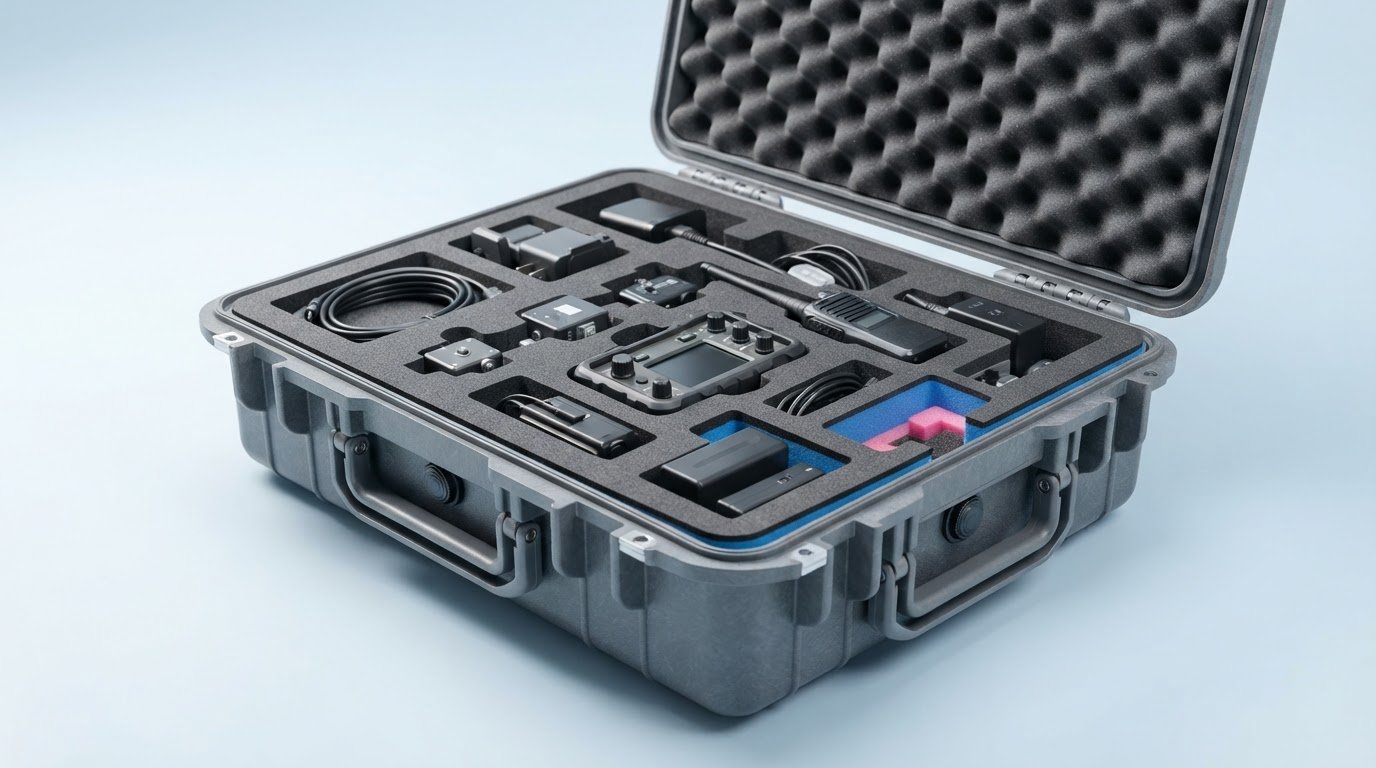
A loose product inside a box is a protection problem, not just a packing inconvenience. Custom foam inserts hold items in place, cushion delicate surfaces, and organize components for shipping or storage. The right design depends on the product’s weight, fragility, dimensions, and handling conditions.
Good packaging fits the product without adding unnecessary complexity. Foam type, insert layout, and box dimensions all affect how well the package supports and protects its contents.
This article explains how inserts are designed for cases, electronics, shipping, and storage. Learn what to consider when selecting foam, how a fitted layout can limit movement and simplify packing, and what information helps turn a packaging need into a practical design.
Key Takeaways
- Use fitted foam to keep equipment organized and supported in storage drawers and travel cases.
- When a case template isn’t available, product dimensions and layout needs can guide a new insert design.
- Choose cushioning for electronics and delicate equipment based on weight, fragility, surface sensitivity, and handling conditions.
- For shipping and storage, consider how foam can limit movement and make packing more consistent; the right format depends on the application.
Why Choose Custom Foam Inserts?
A fitted insert can keep a camera organized in a travel case or tools separated in a storage drawer. The layout should match each item’s dimensions, shape, and handling needs.
Foam for Drawers and Travel Cases
In a storage drawer, individual cavities give each component a defined place. A technician can return gauges, cables, and adapters to the same positions after use. In a travel case, shaped recesses help limit shifting as equipment is carried. Plan the layout around how often each item is removed and whether accessories need separate spaces.
To maintain foam, remove loose debris with a soft brush, then spot-clean the surface with a lightly damp cloth. Let the foam air-dry fully before putting it back in a drawer or case, and follow care directions for its specific material.
Sizing Foam for Existing Cases and Boxes
Measure the usable interior, not the outside of an existing case or box. Record the interior length, width, and depth, then account for hinges, handles, or raised edges that reduce usable space. For a display case, consider which surfaces should remain visible and how the foam can support the item without hiding important details.
Next, measure each product at its widest points and note its orientation. A device stored with a cable attached needs a different cavity from the same device stored separately. These details help determine the foam layer’s size and the position of each cutout within the container.
Custom-Cut Foam for Hard-Sided Cases
Laser-cut foam can create consistent openings for hard-sided cases that hold equipment with defined shapes. Start with a layout showing each item’s footprint, orientation, and nearby accessories. For example, a meter, probes, and charging cable can each have a separate cutout, making the kit easier to pack and check.
Check cavity depth against the item’s height and the case’s available depth. A close-fitting layout should support the product without obstructing the lid or pressing on controls. For multiple components, leave enough room to remove each item without disturbing neighboring pieces.
Custom foam design when a case template is unavailable
Without a case template, start with product measurements, available drawings, and the intended layout. Choose density to suit the product’s weight and fragility, and thickness based on cushioning space and handling conditions.
Boxes Paired with Foam Inserts
Design the box and insert as one package, not as separate pieces. Begin with the product’s dimensions and the space needed for foam around it, then choose box dimensions that accommodate both. For example, a box for a device and accessories needs room for separate cavities, a foam base, and a protective top layer.
Consider how the package will be packed and opened, too. A clear layout helps packers place each component consistently and retrieve it without disturbing neighboring items.
Custom Sizing and Structural Design
When no template exists, record each product’s length, width, height, and orientation. Include protrusions such as handles, connectors, or knobs, since they affect cavity shape and foam depth. Drawings or clear photos can communicate these details and show how several parts should sit together.
A design review can align the cutout layout with the container’s interior and the product’s support points. For a kit with a main unit, cable, and adapter, separate recesses keep parts organized and make missing components easier to spot during packing.
Choosing Foam Density and Thickness
Density describes how much material is packed into a volume of foam. It affects firmness and support. Heavier products generally need more supportive cushioning than lightweight parts. Fragile or surface-sensitive items also require careful consideration of contact points and how firmly each cavity holds the product.
Thickness is the distance between the product and the package wall or other contents. Consider the item’s weight and fragility, shipping conditions, and available box depth together. A thin layer may suit a compact divider, while a deeper cavity can hold a shaped component. The complete layout determines the practical fit.
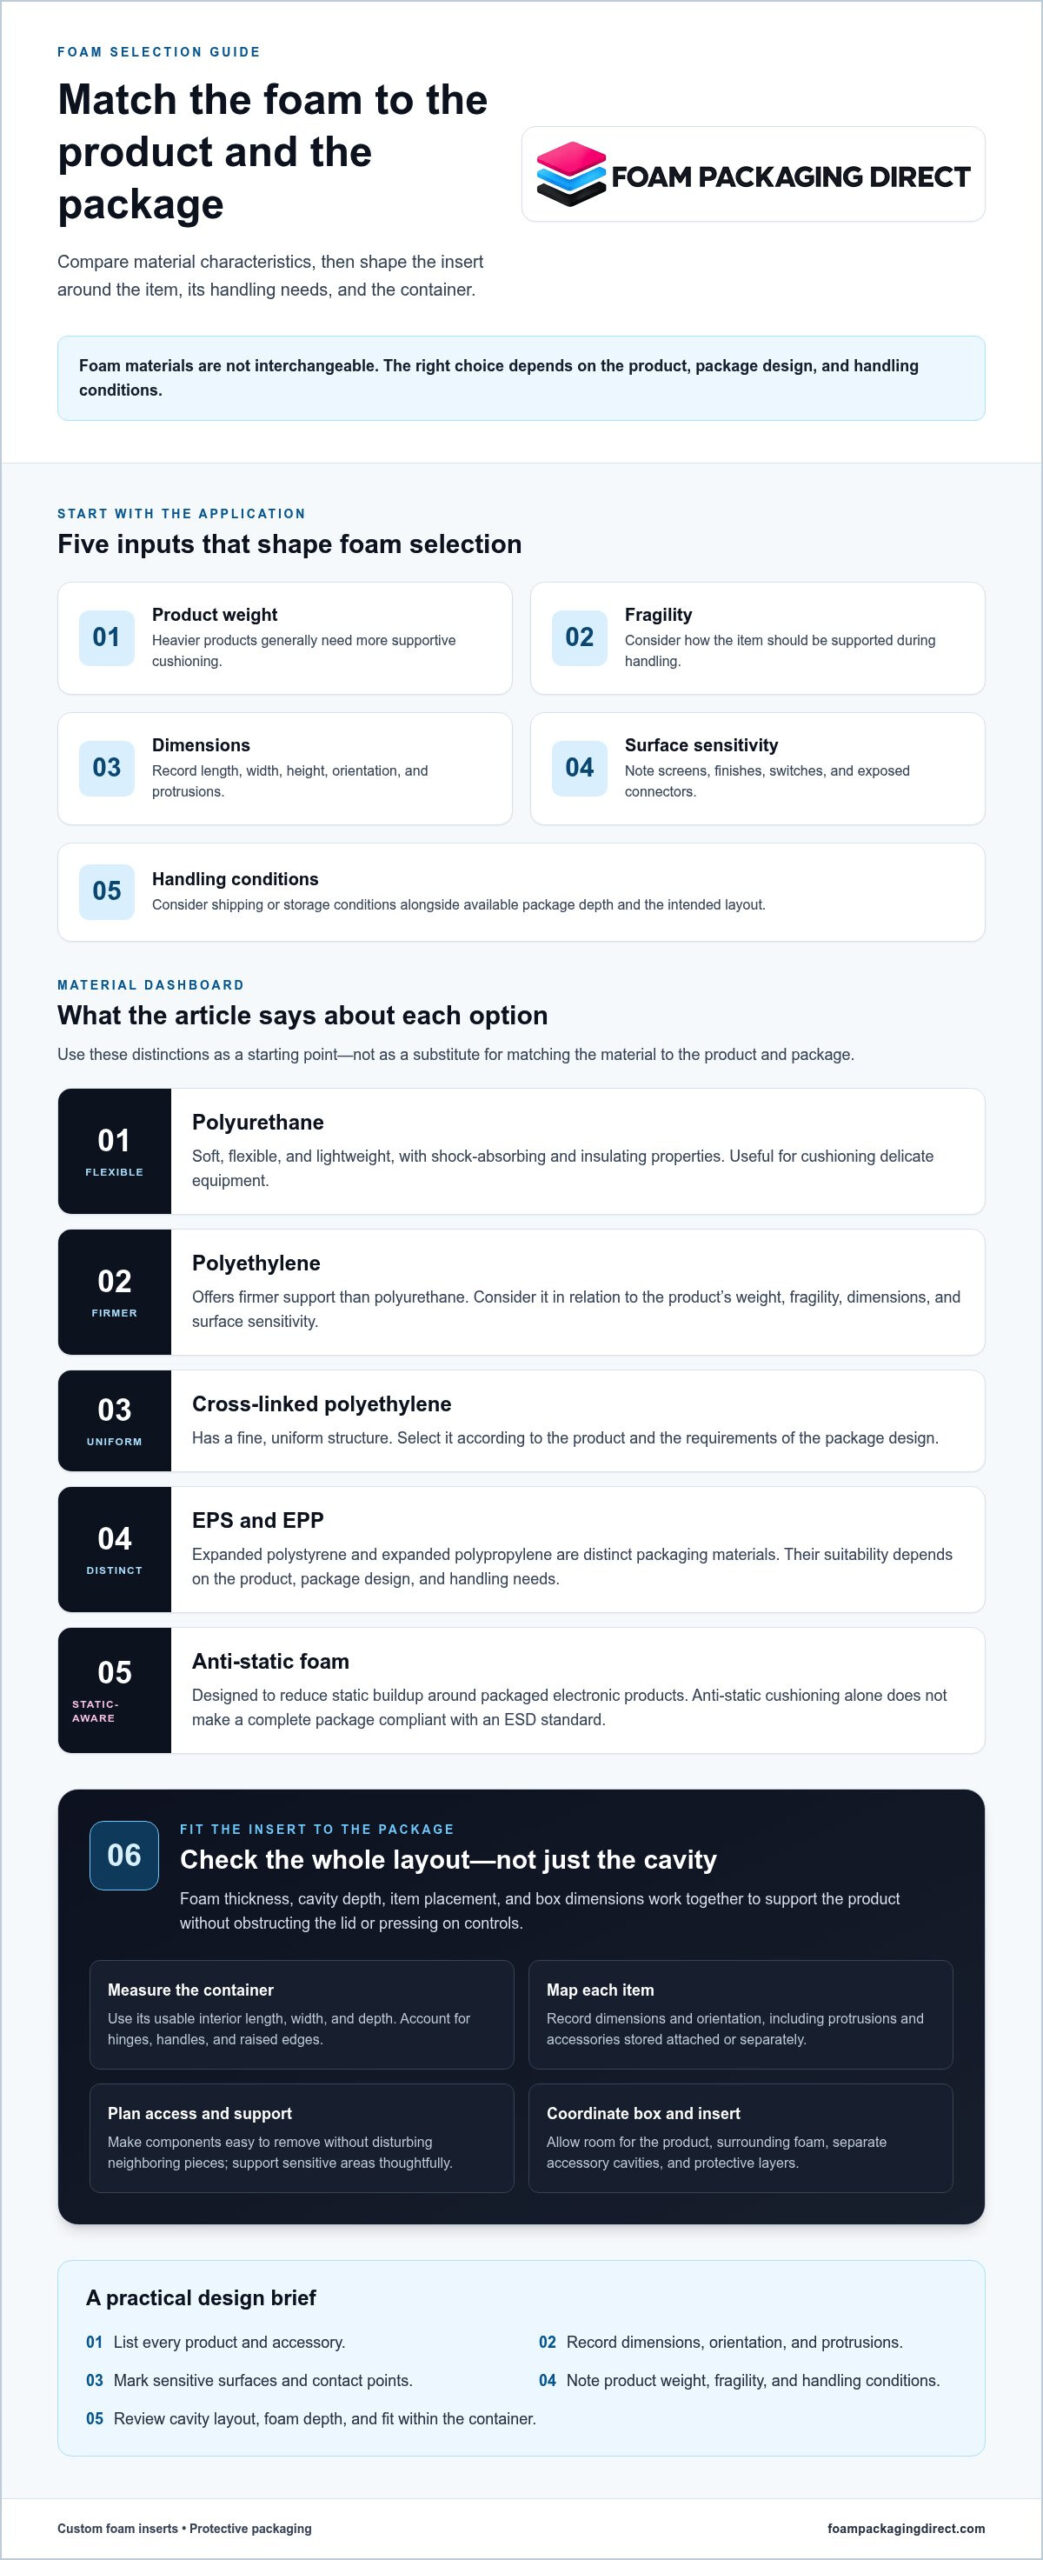
Making a custom foam insert for electronics and delicate equipment
Polyurethane foam is flexible and lightweight, with shock-absorbing and insulating properties. Polyethylene, cross-linked polyethylene, and anti-static foam serve different support and electronic packaging needs.
Foam for Electronics Storage
For electronics storage, map each device and accessory before laying out the cavities. A handheld meter, probes, and power cable can each have a dedicated space, keeping the kit organized between uses. Match cavity size to each item’s dimensions and surface sensitivity so equipment sits securely without unnecessary pressure on buttons or connectors. For more on choosing foam packaging for sensitive electronics, consider static sensitivity alongside device weight and cushioning needs.
Consider how often staff access each component. A frequently used adapter should be easy to lift out, while a delicate screen needs support across its surface.
Comparing Foam Types
Polyurethane foam is soft, flexible, and lightweight, making it useful for cushioning delicate equipment. Polyethylene foam offers firmer support, while cross-linked polyethylene has a fine, uniform structure. Expanded polystyrene and expanded polypropylene are also distinct packaging materials. Choose based on the product, package design, and handling needs.
These materials aren’t interchangeable. Compare the product’s weight, fragility, dimensions, and surface sensitivity before choosing. For example, a lightweight instrument with a delicate finish may need a different contact surface than a heavy component.
Anti-static foam is designed to reduce static buildup around packaged electronic products. It provides anti-static cushioning, but foam alone doesn’t make a complete package compliant with an ESD standard. Consider the full packaging system when electronic components require electrostatic discharge protection.
To plan an insert, list every item, record its dimensions, and mark sensitive areas such as screens, switches, or exposed connectors. Map each cavity and review how the device will be placed and removed. A printed circuit board, for example, needs a layout that supports it without putting pressure on delicate components.
For storage, include the case or drawer dimensions and identify how components should be grouped. A set of instruments used together can share one insert, with cables and accessories in separate recesses. This makes the layout easier to follow during packing and retrieval.
Foam inserts for shipping and storage
For shipping, foam should limit movement inside the package and support the product during handling. For storage, the layout should also keep parts organized and accessible.
Start with the product’s weight, dimensions, fragility, and shipping route. Then consider the outer box, foam placement, and packing process. A fitted cavity can hold a product in position, while separate spaces keep accessories from shifting against it. Design the foam and package as one system, not as unrelated parts.
Polyethylene foam is one option for shipping applications. Expanded polyethylene is lightweight, durable, recyclable, and provides shock absorption. Its fit depends on the product and package design, not simply the material name. A heavier component, for example, needs support appropriate to its weight and contact points. A surface-sensitive finish may call for a different contact surface than a rugged metal part.
Choose a layout that matches the packing task. A product with detachable components may need separate cavities; a single item may need a shaped nest and a protective layer above it. Check that the product sits securely, the foam fits inside the box, and packers can remove the item without pulling neighboring parts out of place. This helps make packing more repeatable.
Storage adds a different consideration: retrieval. A reusable case or bin should keep frequently accessed parts easy to identify and lift out. For example, an insert can assign a distinct space to each component in a service kit. A 16-by-12-by-2-inch sheet format is one example of a foam size found in the market, but the required dimensions depend on the case, product, and layout.
Before finalizing the design, review the product weight, box interior, order quantity, and shipping ZIP code. Include drawings or photos when available. These details help define the foam’s shape, thickness, and arrangement for the intended shipping or storage use.
Foam Packaging Direct: Custom Foam Inserts
Foam Packaging Direct helps businesses match protective foam formats to product and packaging requirements. Its nationwide manufacturing locations allow regional production, which can help reduce freight costs and delivery times. Custom foam inserts suit equipment needing shaped cavities, while foam sheets and pads for packaging provide cushioning between products and package walls.
Foam rolls and wrap provide a flexible layer around products, while tote and tray inserts organize parts for handling or storage. The right format depends on product dimensions, weight, surface sensitivity, and how it will be packed or stored.
To request a quote, provide product dimensions, weight, order quantity, and shipping ZIP code. Include existing box dimensions, available drawings or photos, and any special protection requirements. Contact Foam Packaging Direct to discuss your application.
Turn Your Packaging Requirements Into a Clear Next Step
A useful next step is to turn your packaging needs into a concise specification. Note the product’s dimensions and weight, how it will be handled, and whether it needs to travel in an existing case or box. Include the order quantity and any special protection requirements. These details help shape a practical design for custom foam inserts.
Foam Packaging Direct offers Custom Foam Inserts, Custom Foam End Caps, and Foam Sheets & Pads for different product and packaging needs. Drawings or photos can help show the application, and existing box dimensions can clarify the fit.
Request a quote from Foam Packaging Direct with your product dimensions, weight, quantity, shipping ZIP code, and available drawings or photos. Take the next step toward a packaging design that fits your operation.
FAQs
What are fitted foam inserts used for?
Custom foam inserts protect products, organize components, and keep items positioned inside cases, drawers, and shipping packages. A field-service kit, for example, can separate a handheld instrument from its leads and small accessories. This helps staff spot missing pieces during packing and return tools to consistent places after use.
How do I measure an item for a foam insert?
Measure the item’s longest, widest, and tallest points, including handles or attached fittings. Note its preferred orientation and any parts that shouldn’t press against the foam. If it will sit inside an existing container, measure the usable interior and account for hinges or other obstructions. A drawing or photo can clarify unusual shapes.
How are foam inserts designed and manufactured?
Design begins with product and packaging details. A layout sets the position and shape of each cavity, then material and thickness are selected for the application. A custom foam prototype can help assess fit before production. For a kit with interchangeable parts, mark which pieces belong together so the layout supports both packing and routine retrieval.
Where can I order protective inserts in the United States?
Foam Packaging Direct serves businesses throughout the United States. To begin, share the product’s use, dimensions, weight, order quantity, and shipping ZIP code. Existing package dimensions can help define the fit. Drawings or photos are useful for parts with irregular contours, attached fittings, or surfaces that need careful support.
What is the typical turnaround time for an order?
Timing depends on the project’s design and production requirements, including whether the layout is established or needs prototyping. Order quantity and material selection also affect planning. Include the required quantity, packaging details, and requested delivery timing with your quote information so the project schedule can be discussed alongside the design.
Are inserts available for toolboxes, cases, and shipping boxes?
Yes. Foam layouts can be made for toolboxes, protective cases, and shipping boxes. A maintenance kit might need designated spaces for a meter, replacement parts, and leads, while a shipping package may need a shaped cavity around one product. Share the container’s interior dimensions and describe how the contents should be arranged.